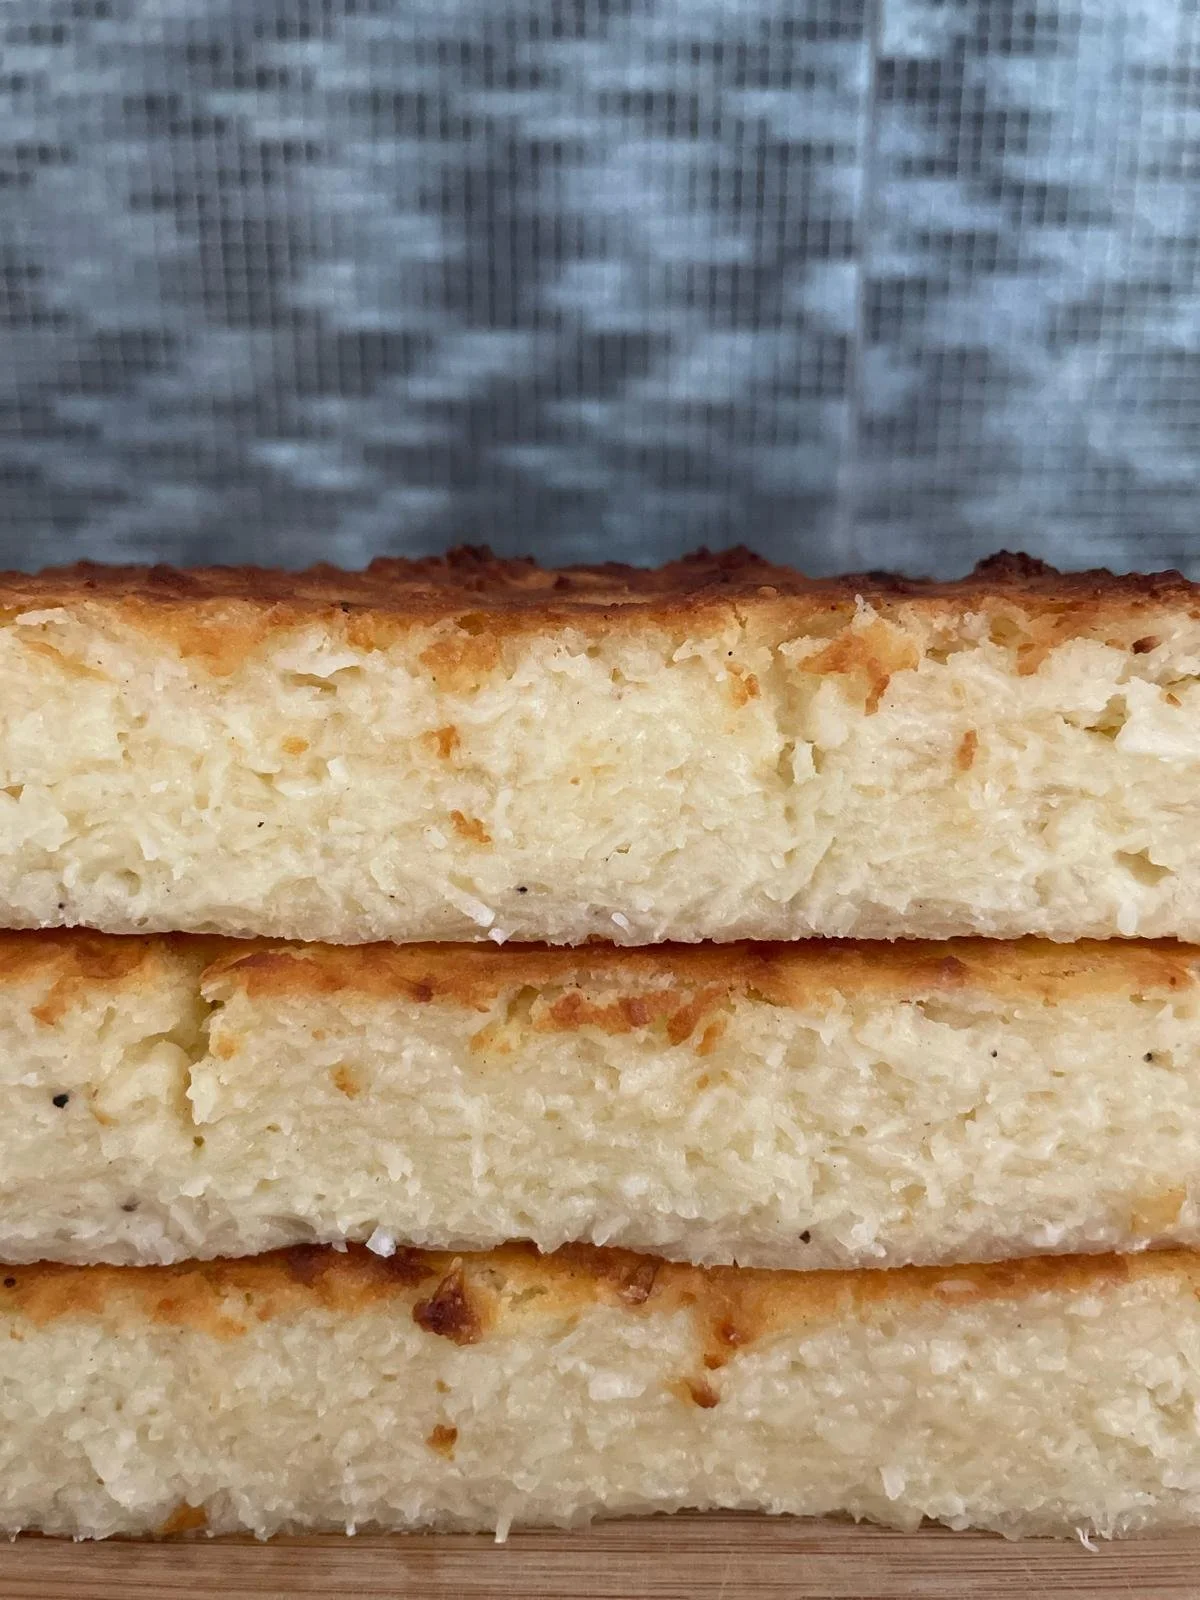
Cassava Cake (Enyucado)


The Recipe

Makes: 1 x 20cm (8’) square cake
Preparation: 30 minutes
Baking Time: 40-45 minutes

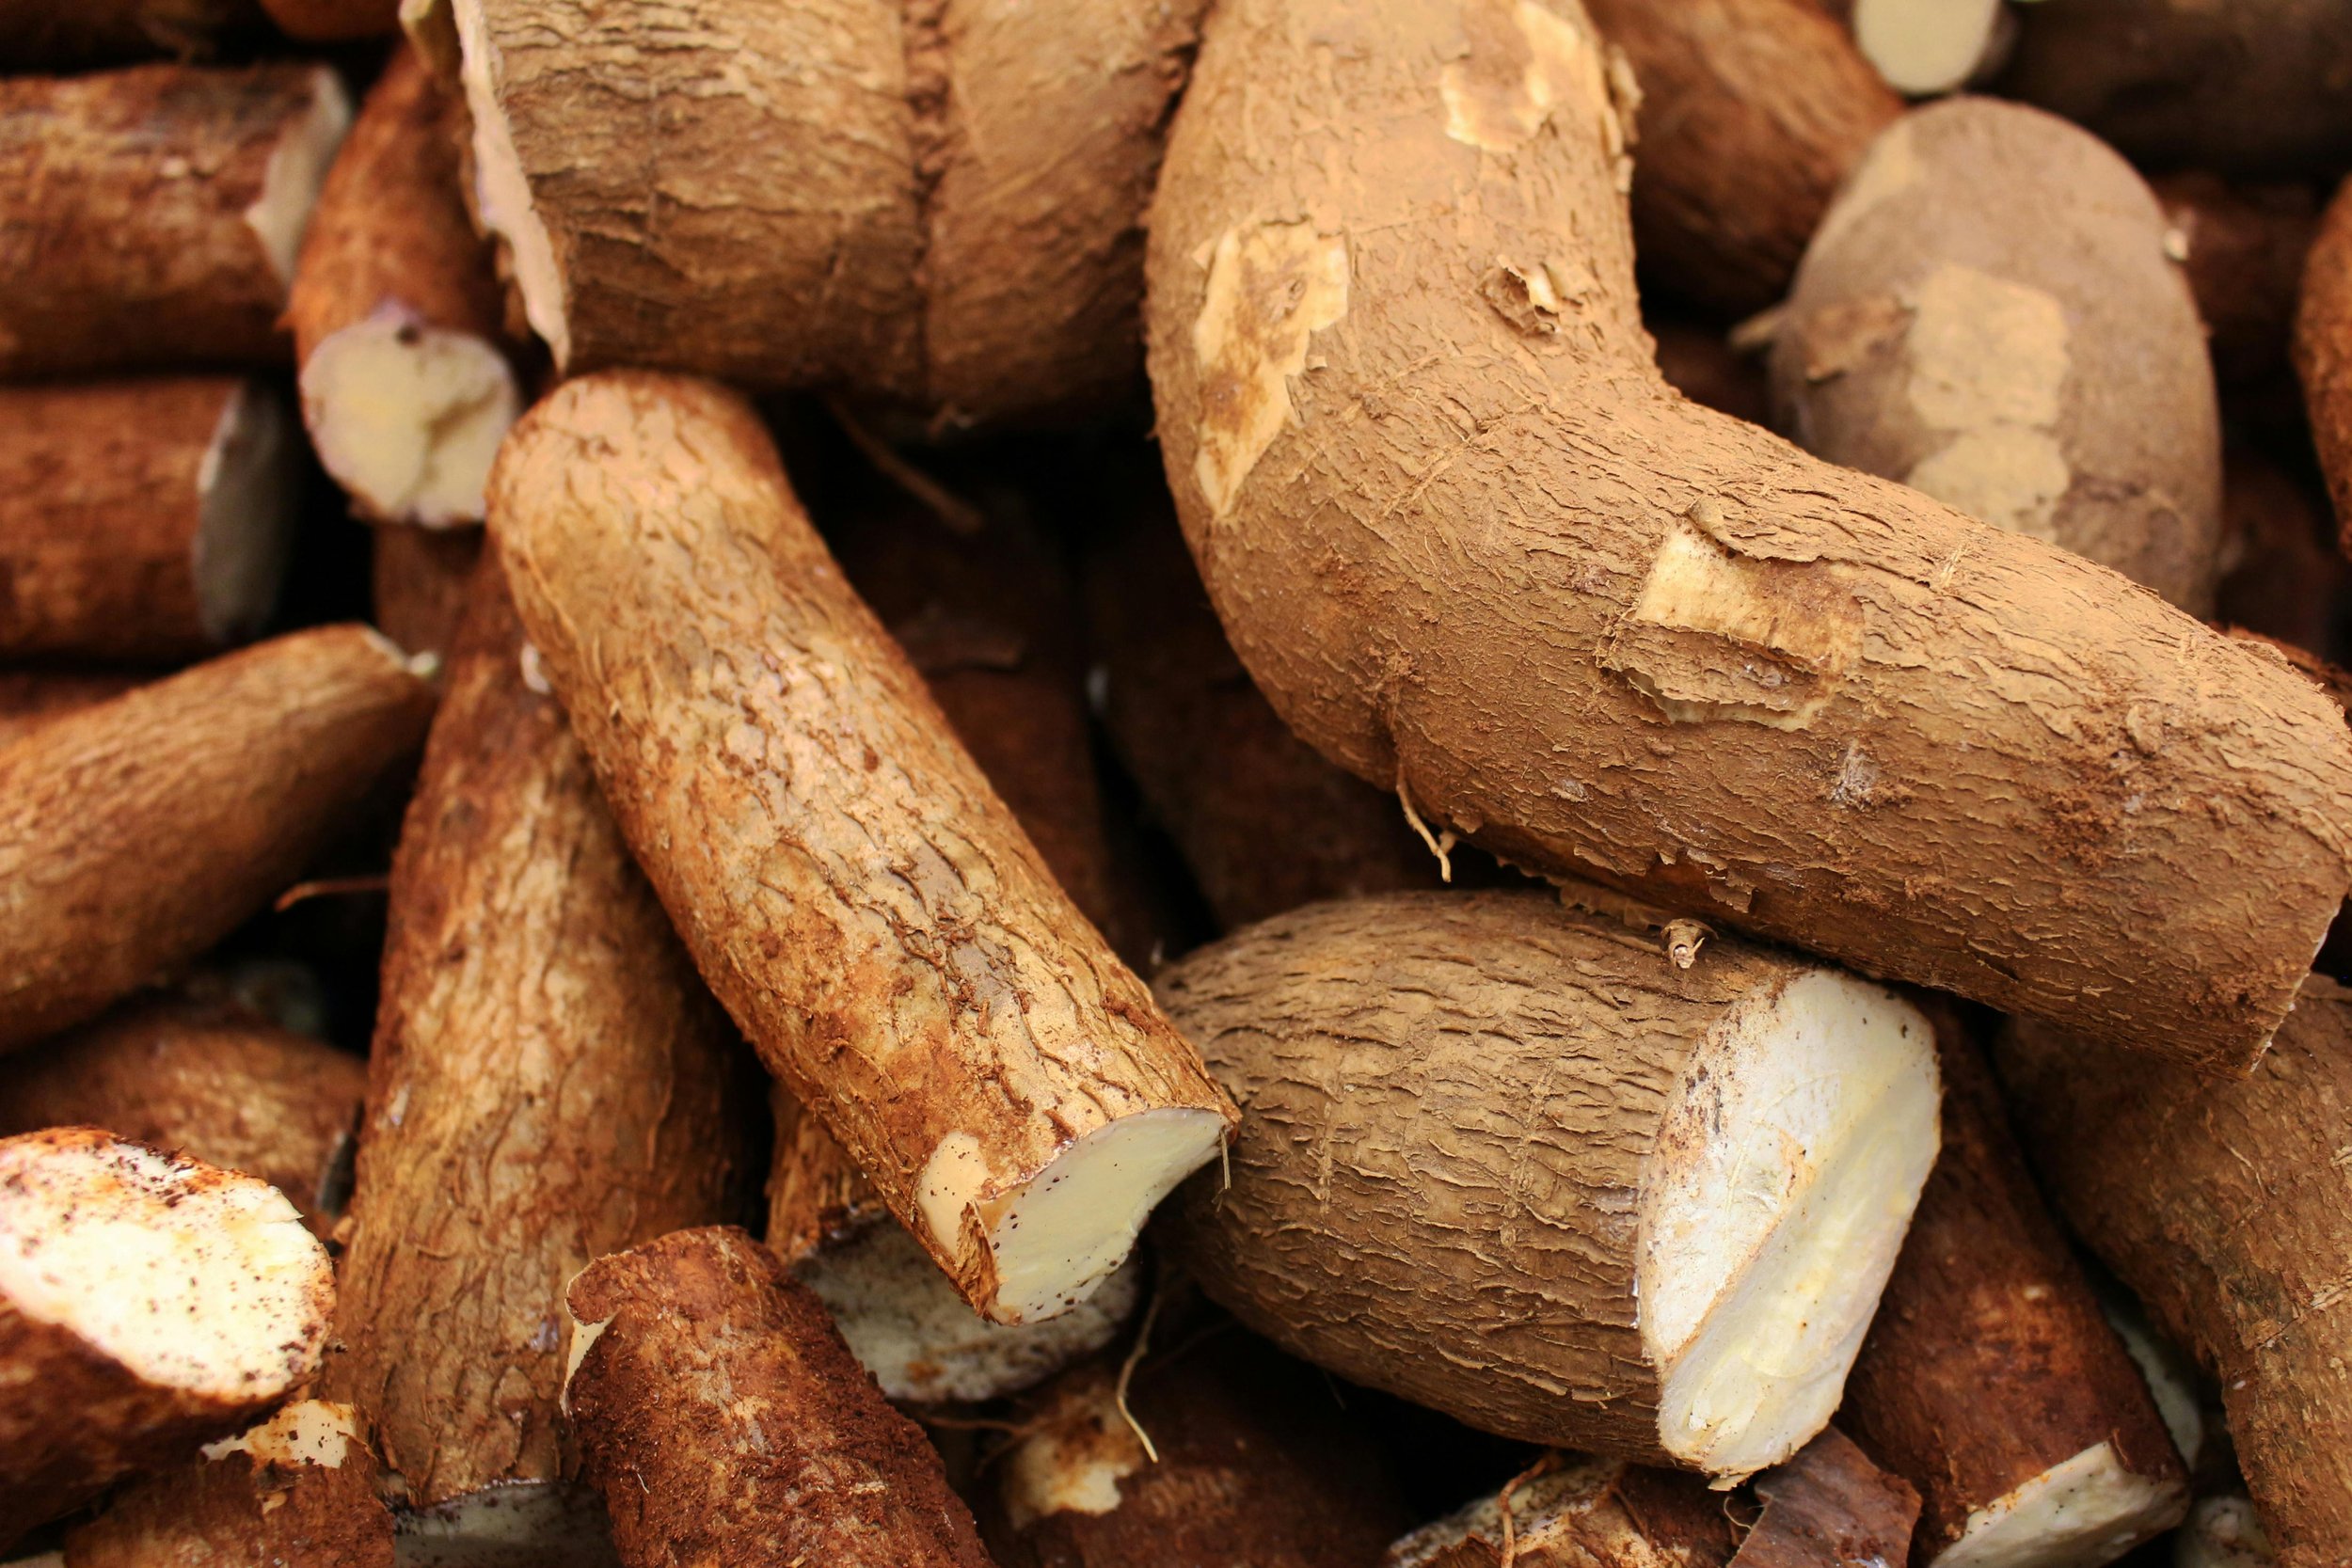
“Cassava has been a significant crop of survival and symbolism for the Indigenous people of the Americas.”

Enyucado is a popular cake made predominately in Colombia, however, variations of it can be found in other countries within the region where yuca/cassava is a staple such as Venezuela, Nicaragua and El Salvador.  

This not overly sweet and dense cake is the perfect example of the culinary evolution in the Americas. Yuca, originating on the continent, mixed with coconut, a reflection of African and Caribbean influence all mixed with cheese, a Spanish import.

You can read more about Cassava and its importance throughout history in the Americas HERE, or we can push on with the recipe.

INGREDIENTS


450g grated yuca
150g grated coconut
2 medium eggs (50g each)
150g full cream milk
75g melted butter
280g piloncillo (or coconut sugar, caster sugar is also ok)
160g softened cream cheese
130g caster sugar
Condensed milk to serve

METHOD

  1. Preheat the oven to around 170’C

  2. Heat caster sugar over a medium heat until golden brown Pour into baking tray and allow it ti set

  3. Peel the cassava and grate coarsely, squeeze out any excess liquid and set aside

  4. in a large bowl, beat eggs with sugar until the sugar has dissolved

  5. Then mix in cream cheese, milk, coconut, butter and lastly the grated cassava

  6. Mix well until combined - the batter is very dense but this is what we want!

  7. Pour into the lined cake tray and tap to spread the mixture evenly

  8. Place in the oven and bake for 40-45 minutes

  9. Take out, and allow to cool before turning it out of the tin completely, alternatively, you can pour condensed milk straight onto the cake in the pan and spoon the cake into a bowl.

Coconut Lime Cake with Gula Melaka Caramel


The Recipe

Makes: 8 slices
Preparation: 20 minutes
Baking Time: 30-35 minutes

“To be honest, I am not the biggest fan of coconut and coconut cream can be a little challenging on my stomach, however, I always stop by the fresh coconut stall at the market that grates coconut to order.”

I have lived in Southeast Asia for a big chunk of my life and despite the time spent here, the markets throughout the region never ceases to amaze me.
From the variety of chillies in Thailand to the plethora of herbs and flowers in Cambodia, I see and learn every time I venture into the markets.
This is what I love about anything related to food, its constant journey of learning!

To be honest, I am not the biggest fan of coconut and coconut cream can be a little challenging on my stomach, however, I always stop by the fresh coconut stall at the market that grates coconut to order. I always purchase it and arrive home thinking, hmmm what do I do with this now??

Bake it, in a cake, with lime and drench it in gula Melaka caramel, and that is what I did.

Oh and you can read more about what GULA MELAKA IS HERE.

INGREDIENTS

Preparation time 15 minutes
Baking Time 30-35 minutes
Serves 8

Cake
225g unsalted butter
225g caster sugar
3 medium eggs
2 limes, zest and juice
1 tsp good vanilla extract
30mls coconut milk

225g plain flour
2 tsp baking powder
1.4 tsp salt
225g fresh coconut (or dried and rehydrated)

20g grated gula Melaka

METHOD

Preheat the oven to around 170’C and line a 20cm square cake tin (you can use a round one if you fancy)
Add butter and sugar into a large bowl and cream the two until nice and fluffy. Continue to beat in lime juice and zest, coconut milk, and vanilla extract.
Crack the eggs in a separate bowl and whisk gently, then add them to the buttery mixture
Once combined, ditch the mixture and grab a spatula to fold in sifted flour, baking powder, and salt until just combined.
Finally, add in the coconut milk and stir.
Place the batter in the lined cake tin and grate gula Melaka over the top.
Bake in the oven for 30-35 minutes, when a sharp knife is inserted in the centre, it should come out clean – meaning it is already!
Allow to cool slightly in the pan before turning out onto a cooling tray.
This cake is quite crumbly, so allow it to cool completely before slicing it into squares.
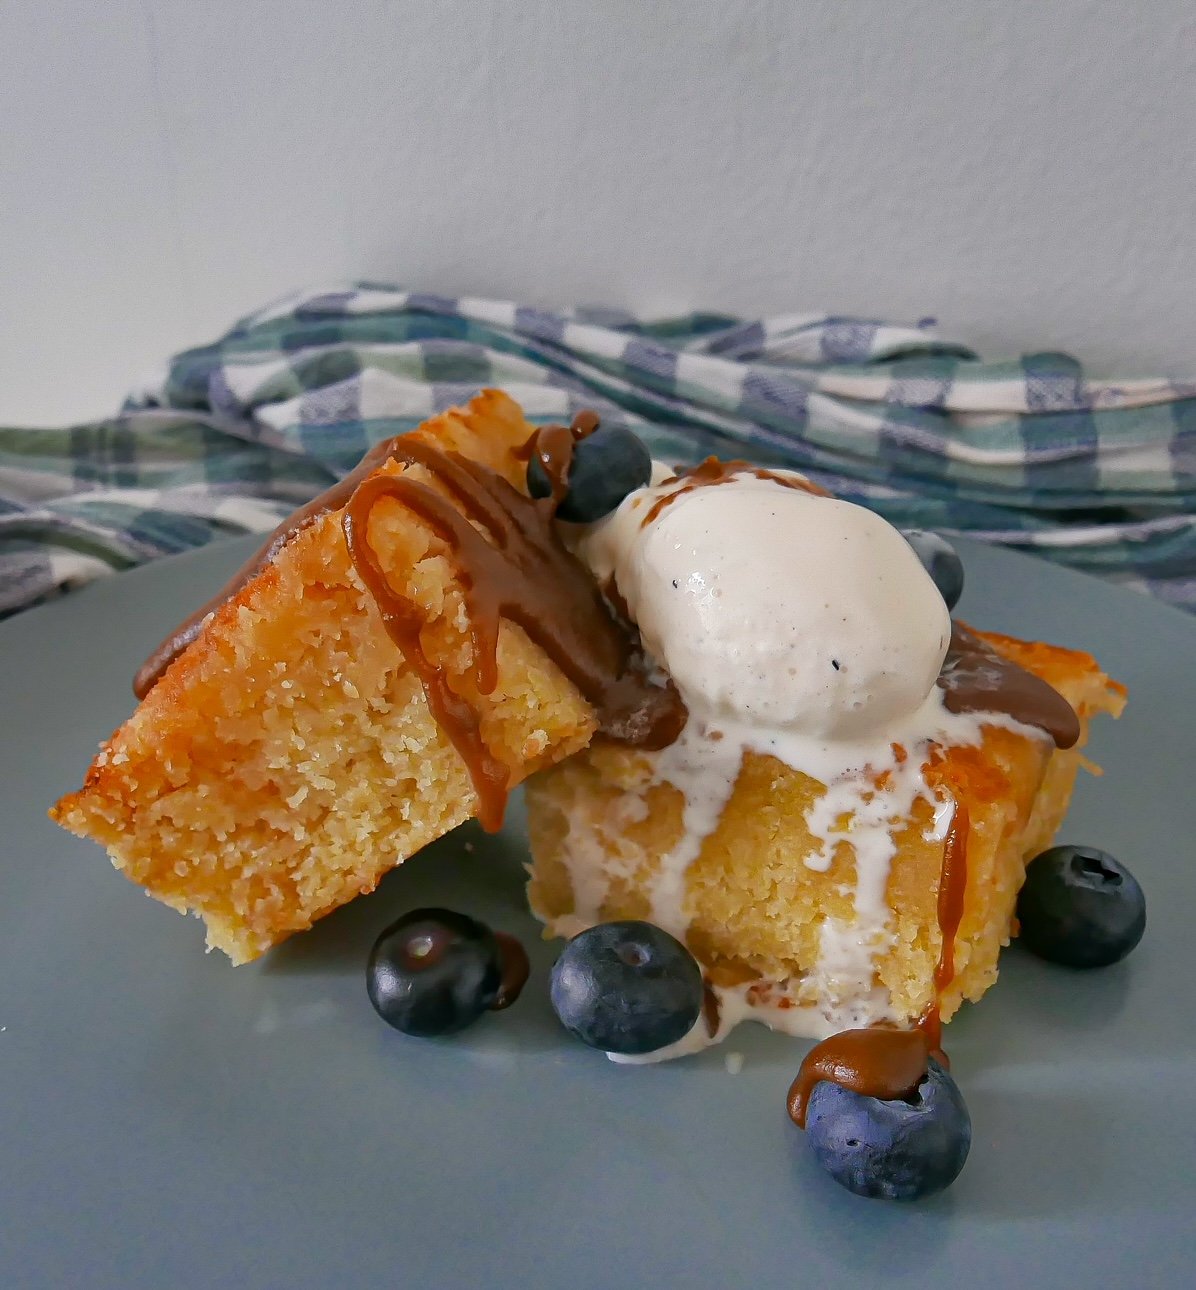
Serve slices with good vanilla bean ice cream, berries, and gula Melaka caramel.

Gula Melaka Caramel

Never heard of gula Melaka? Read more about it here. If gula melaka is not available where you live, it can be substituted for brown sugar or coconut sugar.

225g gula Melaka
80mls cream or coconut milk
50g unsalted butter
Salt

1. Chop gula Melaka into small pieces
2. Place gula Melaka, with a tablespoon of water, heat until the gula melaka has melted and continue cooking until the mixture has slightly thickened.
3. Lower the heat and mix in salt, butter and cream or coconut milk
4. Stir until combined and heat until the caramel reaches to the desired consistency.
5. Drip generously over the cake.  

Lavendar and Lemon Scones


The Recipe

Makes: 6-8 large scones
Preparation: 15 minutes
Baking Time: 15 minutes

“The word lavender is derived from the Latin word ‘lavare’ meaning to wash”

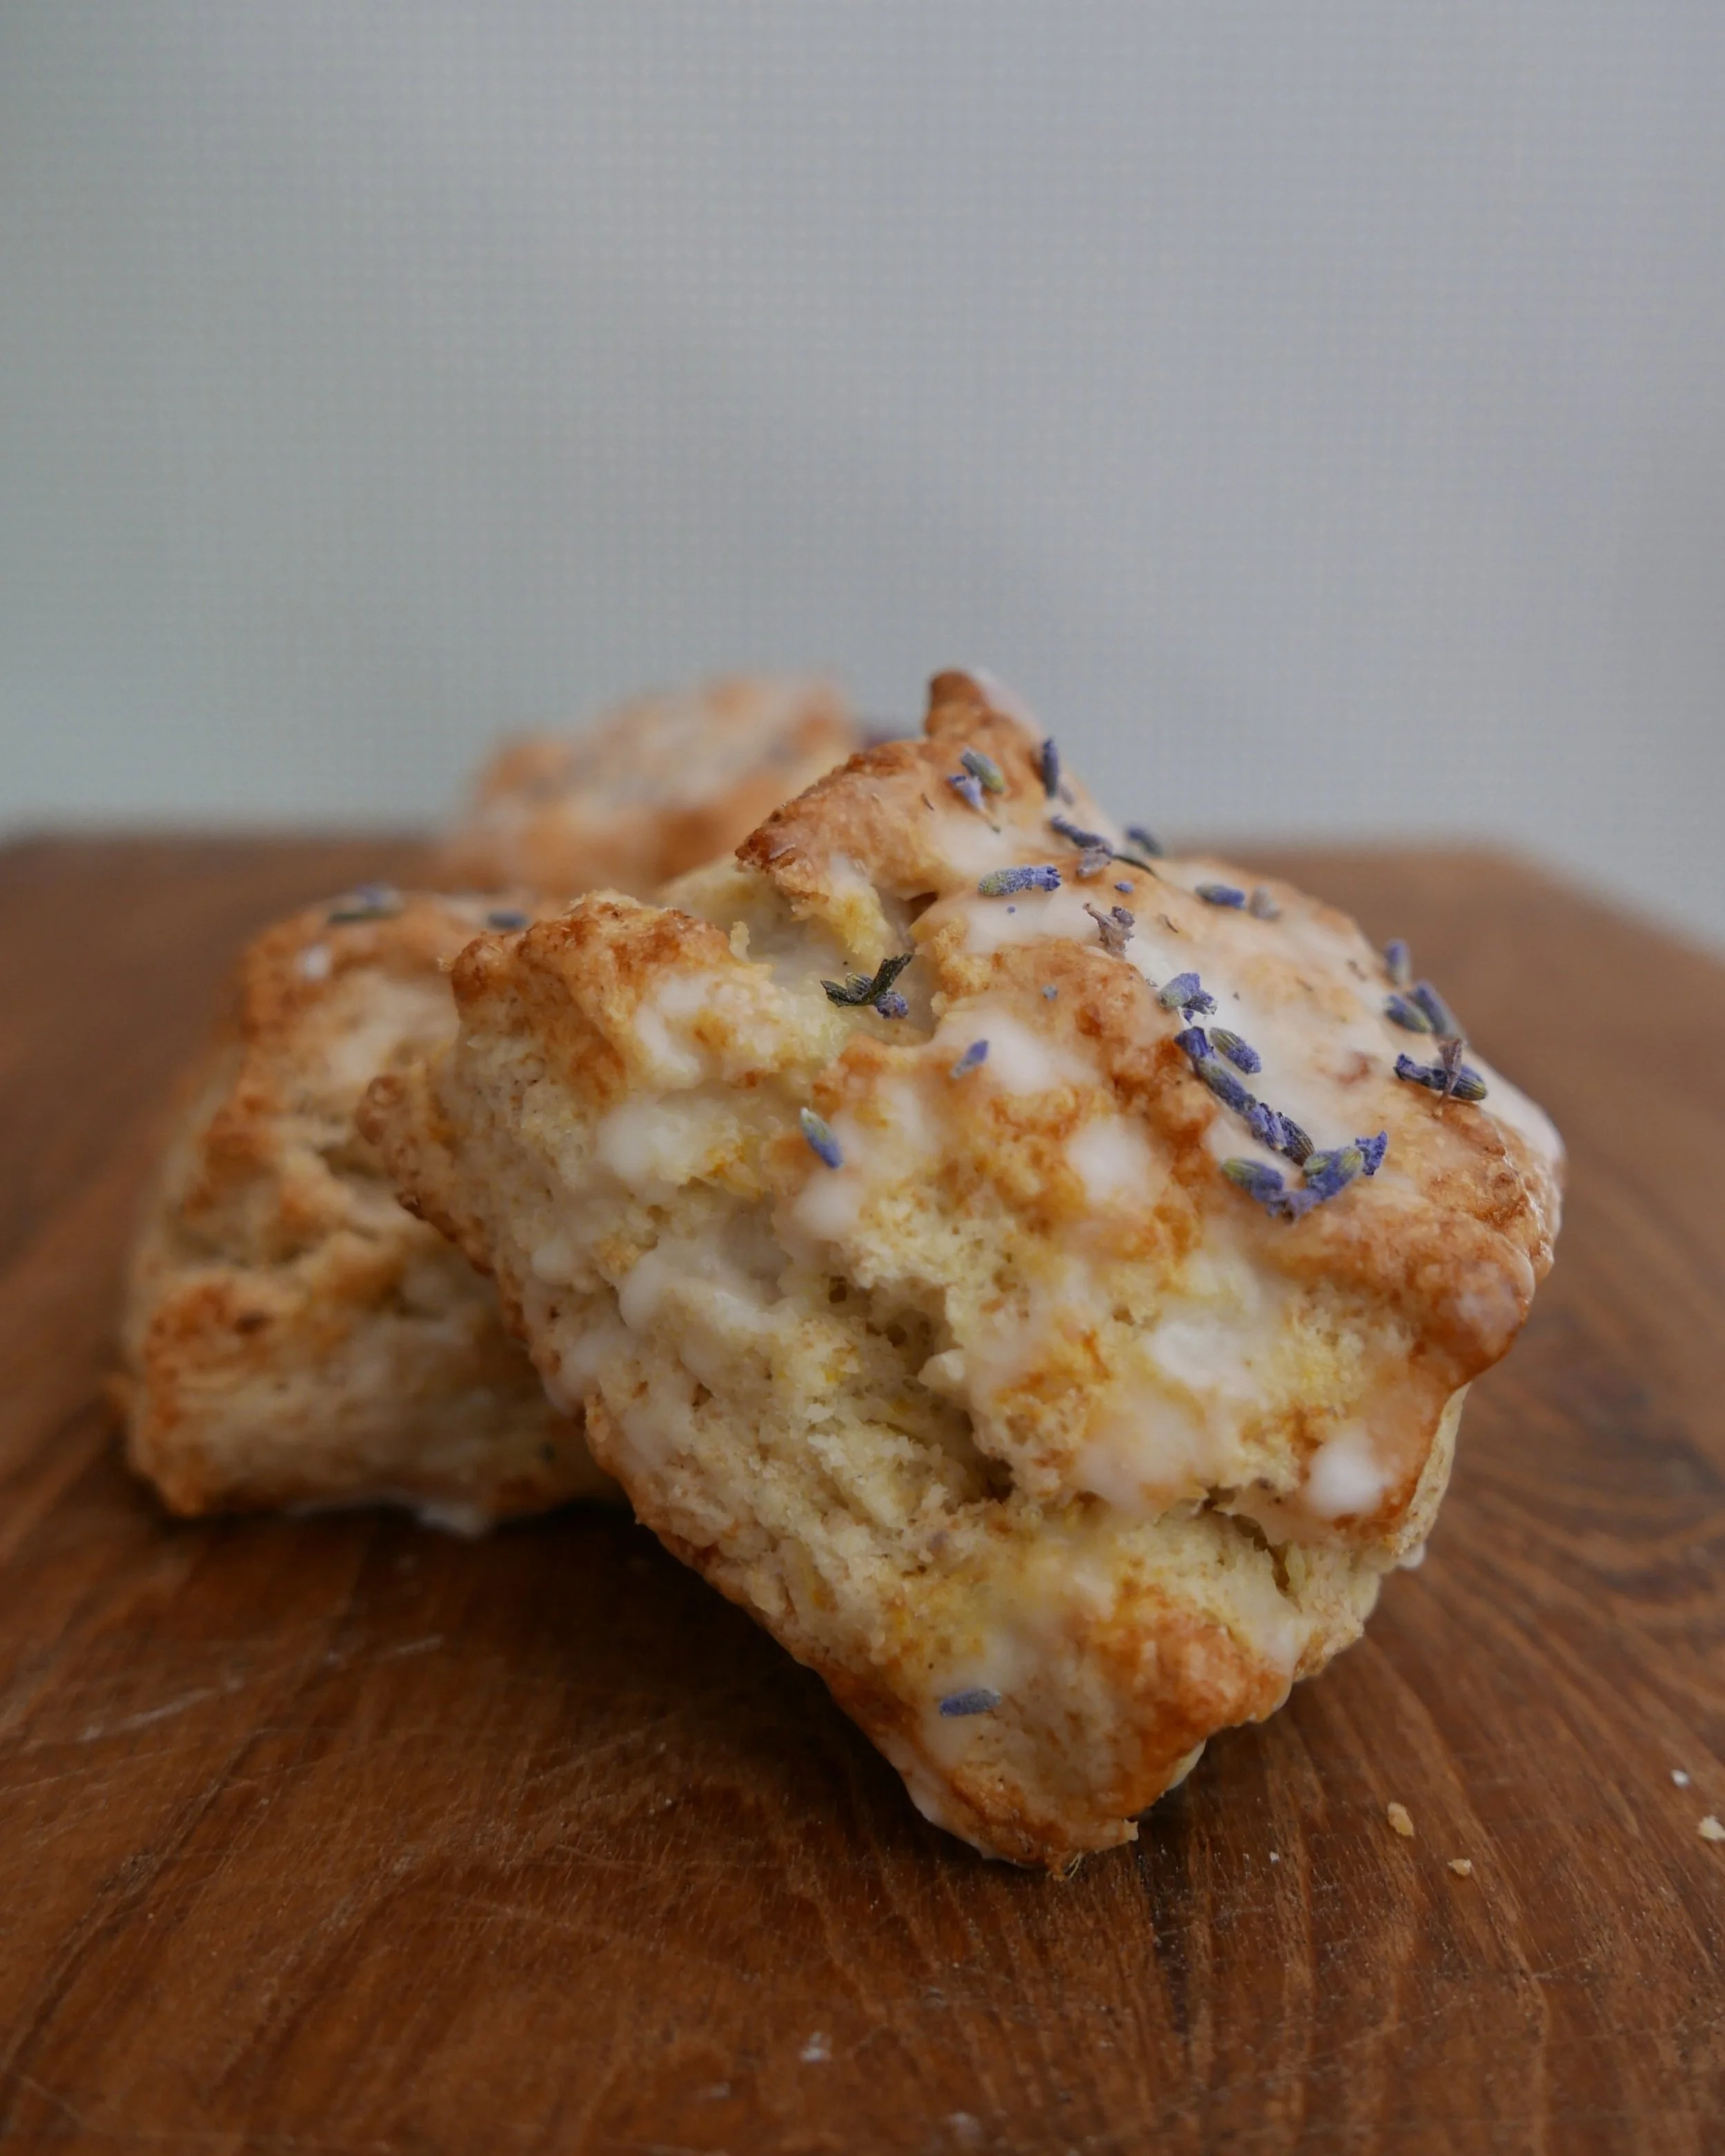
Lavender is not everyone’s favourite flower when it comes to baking, to be honest I am more partial to rose, yet I made these scones and with the hint of citrus, pungent purple flower (to me), seemed to mellow out somewhat.

Lavender is said to have originated in the Mediterranean, yet there is also evidence of it being used in Ancient Egypt for embalming and its aromatic properties. It is perfect for soothing headaches and soothing weary muscles, and also is pretty tasty when combined with chocolate.

For a lighter taste I added it to the scones which turned out really well and this recipe is super simple to make. Try it!

INGREDIENTS

Topping
2 oranges (cut the ends off and slice into 3mm wheels)
100g fine-cut citrus marmalade
50mls water
20g brown sugar
30g salted butter

Cake
200g unsalted butter
200g white caster sugar
4 medium eggs
1 tsp good vanilla paste

2 oranges zest and juice
80g yoghurt

2tsp baking powder
200g plain flour
100g nut flour (almond or hazelnut works)
½ tsp fine sea salt
2tsp cardamom powder


METHOD

1) Heat the marmalade, water and sugar over medium heat, stirring occasionally
2) When it reduces slightly, add the butter and stir in until melted and combined.
3) Turn off the heat and set aside

1) Preheat the oven to 170°C
2) Grease and line a 20cm springform cake pan
3) Beat the sugar and butter together until light and fluffy
4) Add in the eggs one at a time and then the vanilla paste
5) Mix the juice and zest of oranges with the yoghurt
6) Sift the flour, baking powder and salt in a medium bowl, add the nut flour
7) Add ½ of the dry mixture to the sugar and egg mixture, and mix until just
combined.
8) Then add the yoghurt, juice, and zest mix.
9) Finally finish up with the dry mixture, stirring until all ingredients are incorporated
10) Pour the topping mixture into the lined cake tin and layer the slices of oranges to cover the entire base.
11) Lastly, add the cake batter and tap lightly to even it out.
12) Place in the oven and bake for 40-45 minutes.
Allow to cool slightly before turning out the cake onto a plate.
Admire the bottom of the cake which is now the decorative top! Cut a generous slice and enjoy.

Orange Marmalade Cardamom Cake


The Recipe

Makes: 1 x 20cm cake
Preparation: 15 minutes
Baking Time: 40-45 minutes

“The earliest recording of citrus can be found in Chinese literature dating around 314BC”

Oranges are an extremely vitamin-rich fruit that can be used in many cooking applications.

The earliest recording of citrus can be found in Chinese literature dating around 314BC. From Asia, the Arabs were influential in the journey of oranges through the Mediterranean in the 7th Century.

Christopher Colombus was most likely responsible for transporting one of the first orange seed trees to the United States, the second-largest producer of oranges in the world.

The sweet orange we know today is actually a hybrid of pomelo and mandarin and is the most common citrus available all around the world.

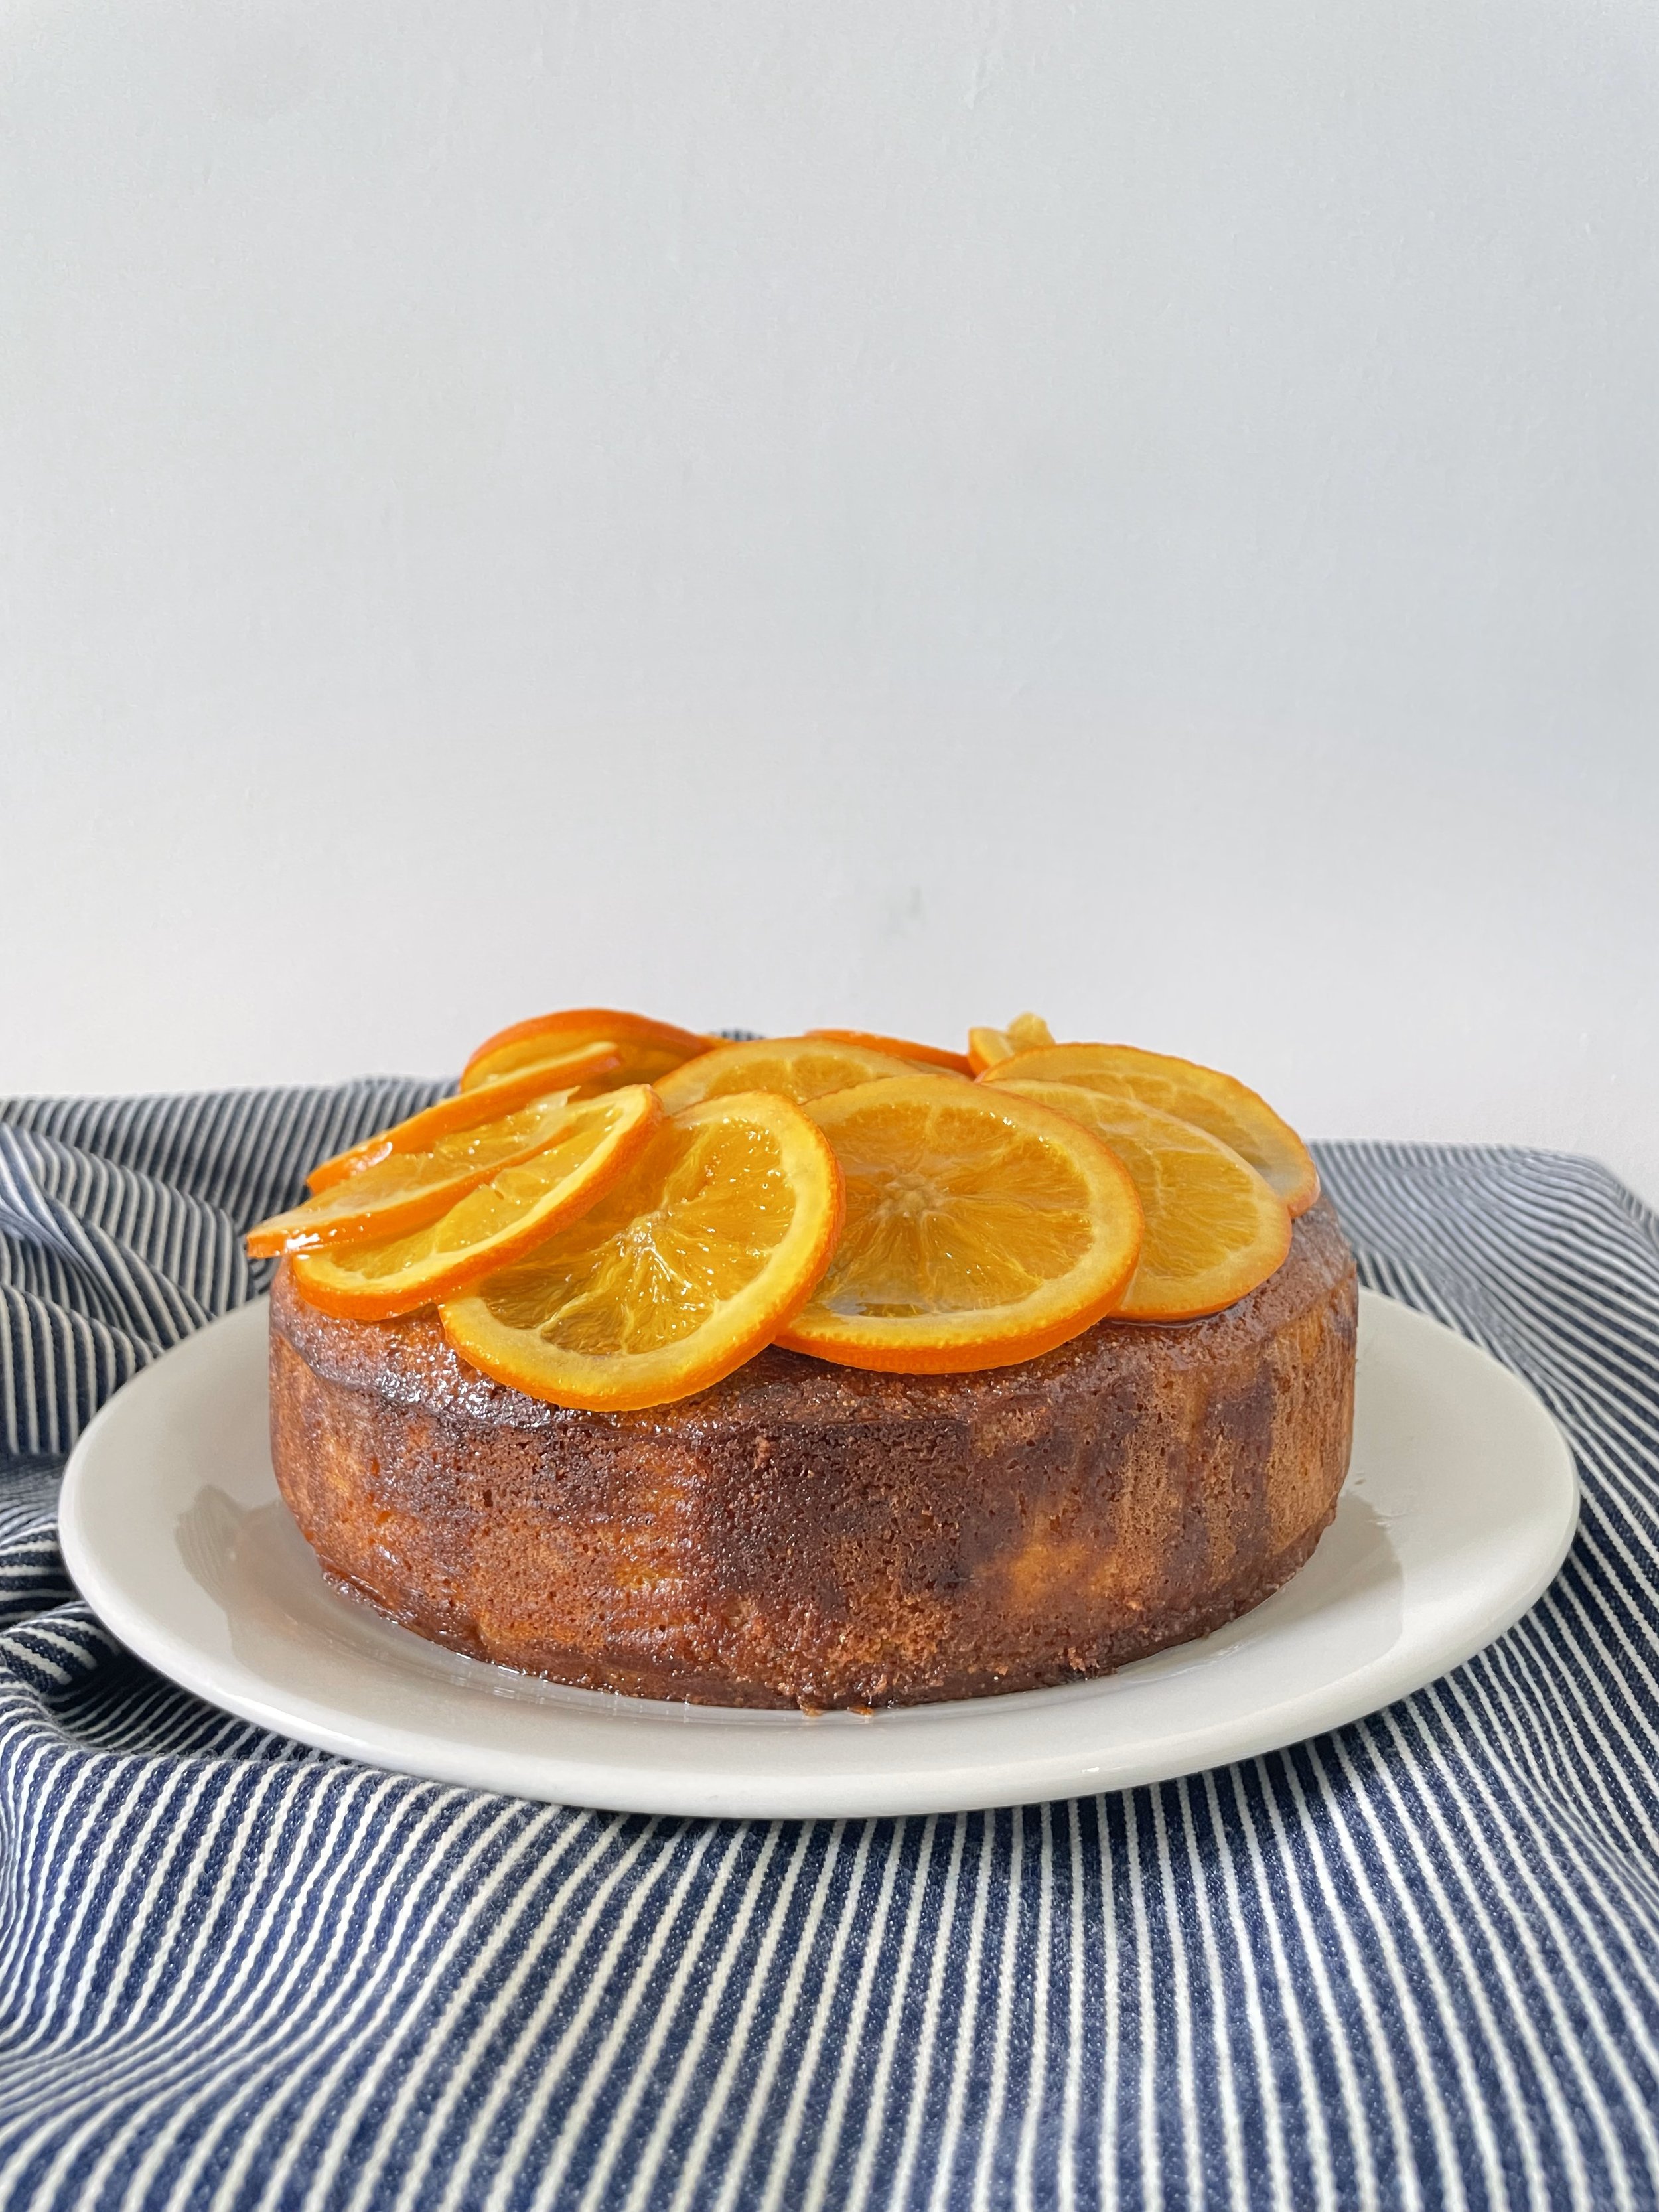
I have used some Egyptian oranges in this month’s recipe that calls for one of my favourite and unique spices – cardamom. The bottom of the cake layered with wheels of orange and buttered marmalade ends up being the decorative top of the cake.

All that is needed is a good scoop of thick double cream.

INGREDIENTS

Topping
2 oranges (cut the ends off and slice into 3mm wheels)
100g fine-cut citrus marmalade
50mls water
20g brown sugar
30g salted butter

Cake
200g unsalted butter
200g white caster sugar
4 medium eggs
1 tsp good vanilla paste

2 oranges zest and juice
80g yoghurt

2tsp baking powder
200g plain flour
100g nut flour (almond or hazelnut works)
½ tsp fine sea salt
2tsp cardamom powder


METHOD

1) Heat the marmalade, water and sugar over medium heat, stirring occasionally
2) When it reduces slightly, add the butter and stir in until melted and combined.
3) Turn off the heat and set aside

1) Preheat the oven to 170°C
2) Grease and line a 20cm springform cake pan
3) Beat the sugar and butter together until light and fluffy
4) Add in the eggs one at a time and then the vanilla paste
5) Mix the juice and zest of oranges with the yoghurt
6) Sift the flour, baking powder and salt in a medium bowl, add the nut flour
7) Add ½ of the dry mixture to the sugar and egg mixture, and mix until just
combined.
8) Then add the yoghurt, juice, and zest mix.
9) Finally finish up with the dry mixture, stirring until all ingredients are incorporated
10) Pour the topping mixture into the lined cake tin and layer the slices of oranges to cover the entire base.
11) Lastly, add the cake batter and tap lightly to even it out.
12) Place in the oven and bake for 40-45 minutes.
Allow to cool slightly before turning out the cake onto a plate.
Admire the bottom of the cake which is now the decorative top! Cut a generous slice and enjoy.

Chocolate & Yoghurt Mini Bundt Cakes


The Recipe

Makes: 12 small Bundt cakes
Preparation: 20 minutes
Baking Time: 10-12 minutes

Bundt tins were inspired by the shape of a raisin and almond-yeasted bread known as ‘Kugekhopf’ that is found in Germany, Austria, Alsace & Switzerland. They are a recent invention around the 1950s by David Dalquist, a metallurgist based in Minnesota.

So I dropped into a bargain discount store, as I do, to see if anything for the kitchen would catch my eye, and stumbled upon a mini Bundt baking tin. As soon as I see bundt cakes I think of the most delicious bundt/tea cakes at Ottolenghi when I lived in London (I absolutely love all their bakery treats). Unfortunately, they are a rare sight in Singapore and bakeries usually have mini cakes in the form of muffins or mini loaves.

Bundt tins were inspired by the shape of a raisin and almond yeasted bread known as ‘Kugekhopf’ that is found in Germany, Austria, Alsace & Switzerland. They are a recent invention around the 1950s by David Dalquist, a metallurgist based in Minnesota.

A Bundt cake today doesn’t really follow a specific recipe. It is simply baked in a bundt tin and because of the hole in the middle, cooks faster than regular cakes and results in a more dense texture.

As with all baking recipes, the timing and texture of the cake will depend on the oven and how much moisture the flour and cocoa will absorb. I recommend using your gut instinct and add a little more liquid if the cake batter is a little too thick.


INGREDIENTS

80g unsalted butter
150g brown sugar
1 medium egg
100g melted dark chocolate.
1/2 tsp baking powder
1/2 tsp cinnamon powder
1/4 tsp bicarbonate soda
1/4 tsp fine sea salt
40g cocoa
170g plain flour
150g Greek yoghurt

METHOD

  1. Preheat the oven to 170’C

  2. In an electric mixer, beat butter and sugar together until nice and fluffy

  3. Sieve the flour, cocoa, cinnamon, salt, baking powder and baking soda into a bowl

  4. Add in the egg and a little bit of flour to bind the eggs and sugar

  5. Incorporate the melted chocolate

  6. Turn the electric mixer to low and add a half the flour/cocoa mixture and half the yoghurt. Allow the batter to be combined then add the rest of the yoghurt and finish up with the flour/cocoa mixture.

  7. The mixture will be slightly firmer than a regular cake batter, if needed you can add a little more yoghurt.

  8. Place into a plastic bag and cut off the tip. Pipe into a well-greased bundt tin or muffin tin about 3/4 full.

  9. Bake for 10-12 minutes and allow to cool slightly before turning out onto a cake rack

  10. Allow the cakes to cool completely sifting over some snowy white icing sugar.


Pan de Muerto


The Recipe

Makes: 8 large buns
Preparation: 20 minutes plus proving time
Cooking Time: 30-40 minutes

Pan de Muerto is a traditional Mexican sweet bread that's commonly enjoyed during Dia de los Muertos, a holiday that celebrates and honors deceased loved ones.


pan1.jpg

Back when I was living in Mexico I learned how to make this bread.
It is an iconic symbol of Dia de los Muertos or Day of the Dead. It is one of the symbols that are placed at offrendas or altars that will coax and feed the souls as they return to their loved ones once a year.

Learn more about Dia de los Muertos HERE.

You are more than welcome to freeze this bread and heat it up when you get a craving, but if you taste it straight out of the oven you will not stop at just one. Enjoy the recipe and let me know how it goes!!


INGREDIENTS

14g instant dry yeast
1 cup / 235mls whole milk
4 medium eggs
2 oranges, zest and juice (approximately ¾ cup juice)
170g unsalted butter
180g caster sugar
2 tsp aniseed
¼ tsp fine sea salt
800g plain flour
Extra flour for rolling
1 egg for egg wash

GARNISH
100g sugar
100mls orange juice
120 g fine caster sugar for sprinkling

METHOD

  1. Mix 50g sugar, yeast, ½ cup warm milk, and ¾ cup flour. Allow sitting for about 20 minutes to activate the yeast.

  2. Whisk the rest of the sugar, milk, eggs, zest and juice, aniseed in a separate bowl

  3. Sift flour and salt separately.

  4. Whisk the egg and yeast mixture together.

  5. In an electric mixer, on low speed with the dough hook attached, pour in the wet mixture and add 1/3 of the flour. Add ½ of the melted butter and allow to mix for about 3 minutes. Continue this until both butter and flour is mixed in.

  6. Mix for 5-8 minutes at a medium/high speed until everything is incorporated and the dough comes away from the sides of the mixing bowl.

  7. Transfer the mixture into a large, oiled container with a secure lid. Allow to rise for about an hour, or until it has doubled in size, and then transfer to the fridge to sit overnight.

  8. Make sure the container is big enough as the dough will rise quite a bit.

    The next day….

  9. Preheat the oven to 180’C

  10. Turn out the dough on a floured surface and shape 8 x 150g balls of dough. Place on a lined baking tray.

  11. With the remaining dough, shape 16 lengths of dough (15 cm each), the thickness of a pen.

  12. Make small balls at the ends of the dough, and place them on the buns so they cross over.

  13. Roll a small ball of dough and place it in the centre of the crosses.

  14. Brush with egg yolk and bake in the oven for 30-40 minutes

  15. Heat 100g sugar and orange juice in a small saucepan until the sugar has dissolved

  16. When the bread is ready, take it out of the oven and allow it to rest for about 5 minutes before transferring it to a cooling rack.

  17. Brush with orange juice sugar mixture and dust generously with sugar.

  18. Store in an airtight container or the bread can be frozen for up to 3 months.

CHOCOLATE PECAN BABKA WITH MAPLE GLAZE


The Recipe

Makes: 1 medium loaf
Preparation: overnight proofing
Baking Time: 30-40 minutes

The traditional babka, meaning “Little Grandmother” is an Eastern European bread that is dense, rich and light all at the same time. Swirled with chocolate, nuts and cinnamon – this was only a version that seemed to develop mid-century by the American Jews.

 
babka.jpg
 

Babka is not the easiest bread to make but it is also not the most difficult. It takes a bit of time and patience, a lot of love but the benefits and joys of munching down on this nutty, dense, chocolatey bread is worth it.

A sweet, yeasted bread that finds its origins in Eastern Europe, developed by the Ashkenazi Jews in Poland, Ukraine, Russia, and Lithuania. This Jewish community has a very coloured history with ancestral routes tied to Germany and Austria. It is a bread that is traditionally served on special occasions such as the Jewish Sabbath (Shabbat) or holidays and represents good fortune and prosperity.

It can be found throughout the year in Jewish bakeries around the world and there are many variations of babka that exist today, yet the original recipe was either a plain or nut-filled dough that was braided and then baked into a tall cylindrical shape.

This chocolate version is messy and extremely delicious and I hope you have fun making it!

THE INGREDIENTS

BABKA DOUGH

280g plain flour
60g white sugar
7g instant yeast
150mls milk, room temperature
Zest of 1 orange
½ tsp vanilla essence
2 x medium eggs
¼ tsp salt
140g butter, cubed
Oil (for greasing)

CHOCOLATE FILLLING

120g unsalted butter, room temperature
1 tsp cinnamon
2tblsp/20g cocoa
80g brown sugar
Pinch of salt
80g semi sweet chocolate, roughly chopped or chocolate chips
80g toasted pecans, roughly chopped.

GLAZE

50g maple syrup
10g butter

THE METHOD

The Day Before

  1. Mix milk with vanilla, salt, and eggs

  2. Place the sugar, yeast, zest, and flour in a mixing bowl with a paddle attachment

  3. Add milk mixture to the flour until combined

  4. Switch to a dough hook and then start adding the butter, bit by bit until all is incorporated.

  5. Mix for about 5-8 minutes until the dough is nice and smooth

  6. Place in a well-oiled bowl and cover with cling film and allow the dough to rise and double in size then place in the refrigerator overnight so it can work its magic

The Next Day

  1. Turn the dough out onto a well-floured surface and roll it out into a rectangle 25cm width x 40cm length

  2. For the chocolate filling, mix cinnamon, sugar, cocoa, and butter together until combined.
    Have it on stand-by for when the dough is ready to be rolled.
    Spread the chocolate mixture over the surface of the dough, leaving about a 1.5cm edge all around

  3. Roll the dough lengthwise to form a 25cm cylinder. Place in the fridge for about 10-15minutes to firm up (you will thank me for this later)
    Take out the dough and with a sharp knife, cut it in half so you have long strips
    Braid the two pieces of dough over each other so they are nicely twisted firmly together
    Place into a greased and lined loaf tin (about 20cm in length), cover with a damp cloth, and allow to rise for 30-40 minutes. For the maple glaze, heat the ingredients at a low temperature until the butter is just melted.

  4. Preheat the oven to 190’C and bake the babka for 30-40 minutes until well risen and golden.
    Allow the bread to cool slightly before turning it out and brush the babka while still warm with the maple glaze

Dark Chocolate Cake with Honey Mascarpone


The Recipe

Yields: 20cm cake
Preparation Time: 25 minutes
Baking Time: 35-40 minutes

With a whipped mascarpone and a drizzle of good honey, there is nothing more comforting than this rich chocolate cake.

After writing my article on chocolate, I had a craving for cake - that would be of the chocolate kind. Cake, for me, is as indulgent as it gets and I like to go the whole hog with either a decadent frosting or a drizzle of some kind of delicious sauce with a good scoop of ice cream on the side.

Gluten free, sugar free and less fat - please don't do that to yourselves if you are eating cake. Just don't eat so much of it and it will all balance out. Promise.

Hope you enjoy making and eating this cake as much as my flat mates and I did!


INGREDIENTS

Cake
200g unsalted butter
200g caster sugar
180g dark chocolate (60% or above), melted in the microwave or bain marie
3 medium eggs
½ tsp good vanilla extract
3g/ 1½ tsp baking powder
20g/2tblsp cream
50g cocoa powder
¼ tsp fine sea salt
250g plain flour


Honey Mascarpone Frosting
250g mascarpone
½ tsp good vanilla extract
20g good strong flavoured honey
50g whipping cream


METHOD

  1. Have all ingredients at room temperature

  2. Grease, line and flour a 20cm spring form cake tin

  3. Preheat the oven to 180’C

  4. Cream butter and sugar in an electric mixer until it is pale and light in colour

  5. Mix in slightly whisked eggs and vanilla extract until combined

  6. In a separate bowl, sift cocoa powder, flour, salt and baking powder

  7. Slowly add half the dry mixture and the cream

  8. Finally add the last half of dry mixture, making sure the batter thoroughly mixed, that means not forgetting to scrape the bits of butter and other good stuff that may have stuck to the bottom of the mixing bowl

  9. Pour into the prepared baking tin (the mixture will be thick), level out and place in the oven for 35-45 minutes

  10. The cake is done when inserting a knife it comes out pretty clean. With cooling, the cake will become nice and fudgy so it is important to not over bake!

  11. Let the cake rest for 5 minutes before removing from the cake tin and allowing it to cool completely on a cake rack

  1. Whisk all ingredients until combined and fluffy

  2. Top the completely cooled cake with the mascarpone frosting (as rustic or as neatly as you like) and drizzle with a little more honey

  3. Cut a big slab, curl up on the sofa and indulge in the simple pleasure of this glorious cake!